Crafting Your Gaming Paradise: DIY PC Setup Guide for Ultimate Performance and Enjoyment.
Intro
In the world of gaming, enthusiasts often seek the pinnacle of performance, customization, and a truly immersive experience. Building your custom gaming PC setup, often referred to as a DIY (Do It Yourself) gaming PC, is a rewarding journey that empowers gamers to tailor their systems to exact specifications. This article serves as a comprehensive guide to help you navigate the exciting process of building your custom gaming PC setup, providing insights into hardware choices, assembly steps, and the overall considerations that make DIY gaming an exhilarating venture.
Planning Your Build:
Before diving into the construction phase, careful planning is essential. Define your gaming goals, whether it’s achieving high frame rates in the latest AAA titles, content creation, or a balance of both. Establish a budget, keeping in mind that the gaming PC market offers a spectrum of options catering to various price ranges.
Choosing the Right Components:
Selecting the right components is pivotal in crafting a gaming PC that meets your performance expectations. Consider factors such as the processor (CPU), graphics card (GPU), motherboard, RAM, storage, power supply, and cooling solutions. Research each component’s specifications and compatibility to ensure they harmonize for optimal performance.
Processor (CPU) and Graphics Card (GPU):
The CPU and GPU are the workhorses of your gaming PC. CPUs from AMD and Intel offer a range of options catering to different budgets and performance needs. Similarly, NVIDIA and AMD provide a variety of GPUs, each excelling in specific gaming scenarios. Choose a CPU-GPU combination that aligns with your gaming preferences and future-proofing considerations.
Motherboard and RAM:
The motherboard serves as the central hub connecting all components. Ensure it supports your CPU and offers features such as sufficient PCIe slots and RAM capacity. Speaking of RAM, consider a dual-channel configuration for better performance. DDR4 RAM is the current standard, with varying speeds available.
Storage Solutions:
Choose storage options based on your needs. Solid State Drives (SSDs) deliver faster load times, while Hard Disk Drives (HDDs) provide cost-effective mass storage. A combination of both for an SSD-HDD setup is a common choice, optimizing speed and capacity.
Power Supply (PSU) and Cooling:
Select a reliable power supply that provides enough wattage for your components, with headroom for potential upgrades. Efficient cooling is crucial to maintain optimal temperatures. Whether you choose air or liquid cooling, ensure it aligns with your case and provides sufficient cooling capacity for your CPU and GPU.
Case Selection:
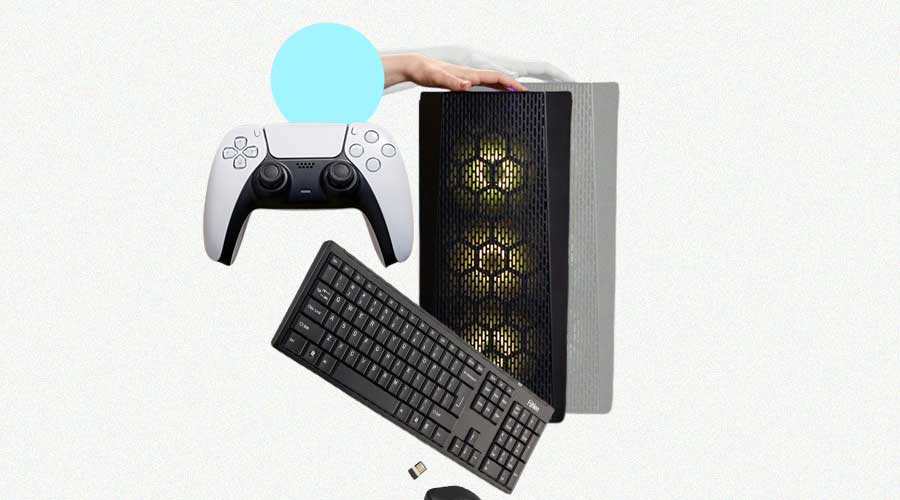
The case not only houses your components but also contributes to the overall aesthetics of your gaming setup. Choose a case that accommodates your chosen components, offers good airflow, and aligns with your preferred design aesthetics. Additionally, consider cable management features for a clean and organized build.
Assembly Process:
Building your gaming PC involves careful assembly, but fear not – it’s a step-by-step process. Start by installing the CPU and RAM onto the motherboard before securing it in the case. Mount the GPU, connect storage drives, and carefully route power and data cables. Finally, install the power supply, connect peripherals, and you’re ready for the moment of truth.
System Boot and Setup:
Power on your newly assembled gaming PC and enter the BIOS to configure settings. Install the operating system, graphics drivers, and other essential software. Keep an eye on system temperatures and ensure all components are functioning optimally.
Optimizing and Personalizing Your Setup:
Once your gaming PC is up and running, take the time to optimize settings, install games, and customize your setup. Consider additional peripherals such as a gaming keyboard, mouse, and high-refresh-rate monitor to enhance your gaming experience.


